User Guide: How to Set Up Multifactor Authentication
Multifactor Authentication (MFA) requires users to log in with the correct User ID, password, and another form of authentication, such as identity confirmation through an authentication app or an email address. Access to Fannie Mae browser-based applications requires the use of MFA.
This guide explains how to set up the MFA verification method during first-time login, including:
The user must setup at least one MFA verification method to access Fannie Mae systems.
The table below provides an overview of all available MFA verification methods:
| MFA Method | Description |
|---|---|
| Third-Party Authenticator App | Retrieve a 6-digit code through a third-party application such as DUO, Google or Microsoft Authenticator. The user is prompted to enter the code into the interface. |
| Fido 2 | Use your FIDO2 authentication such as Biometrics in your device like fingerprint or facial recognition, Passkeys, Security Keys to verify MFA identities. |
| Receive an email with a 6-digit code at the email address registered with Fannie Mae. The user is prompted to enter the code into the interface. |

Set Up Third-Party Authenticator App
This section explains how to set up the third-party authenticator method. When utilizing this method, the user retrieves a 6-digit code through a third-party app such as Duo, Google or Microsoft Authenticator and is prompted to enter the code into the interface.
- Log in to a Fannie Mae browser-based application for the first time.
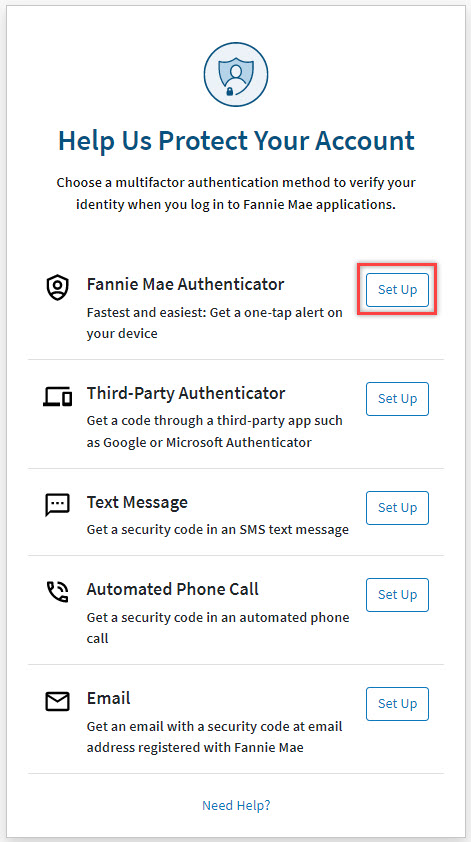
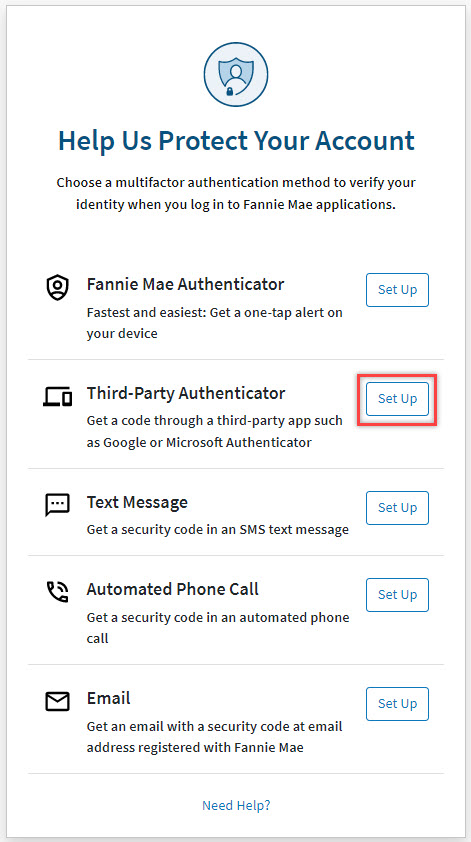
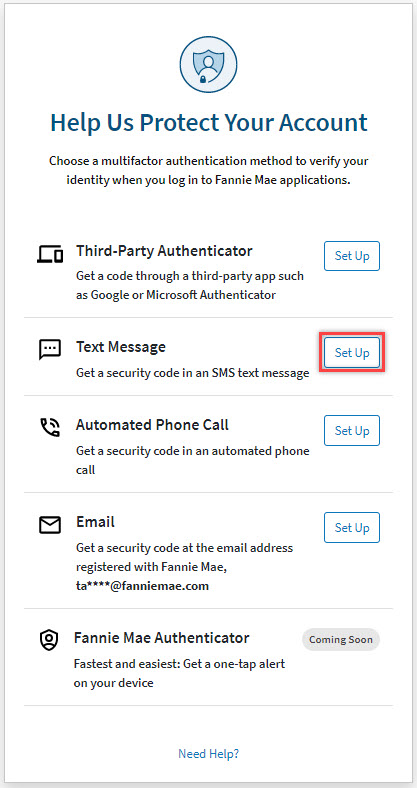
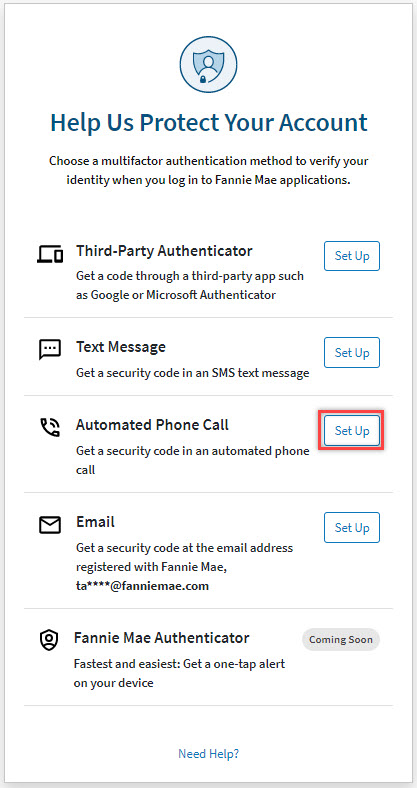
- After providing the correct User ID and password, the user will be prompted to set up the MFA verification method via the Help Us Protect Your Account panel
If not yet done, please download and install the desired third-party authenticator app from the App Store or Google Play on your device.
Note: The following third-party apps have been tested and validated: Google Authenticator, Microsoft Authenticator, and Duo.
- Click the Set Up button next to Third-Party Authenticator App.
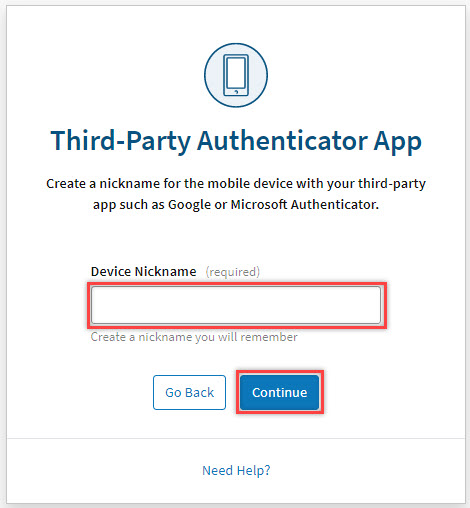
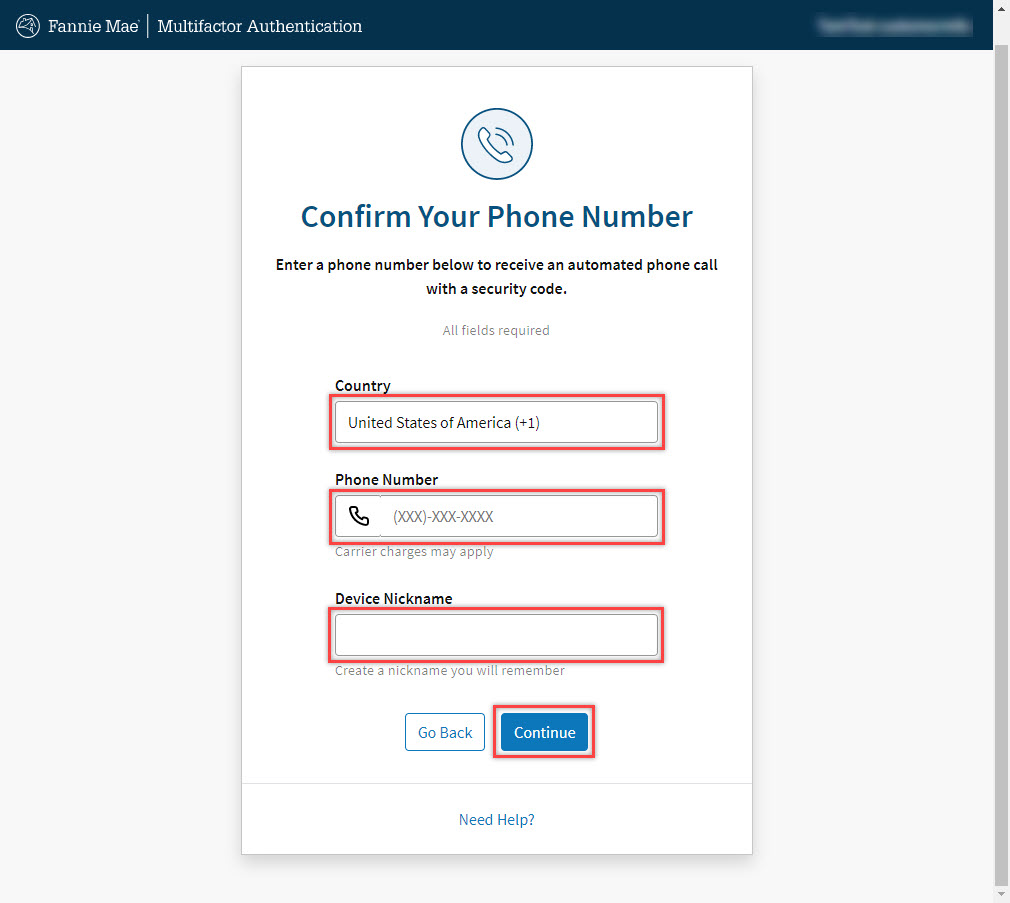
If desired, change the Device Nickname, then select Continue.
Note: Nickname will auto populate but user can update the Nickname.
The Device Nickname can contain numbers, letters, and the following special characters: space ( ), asterisk (*), hyphen (-), underscore (_), and apostrophe (‘). The maximum length is 30 characters.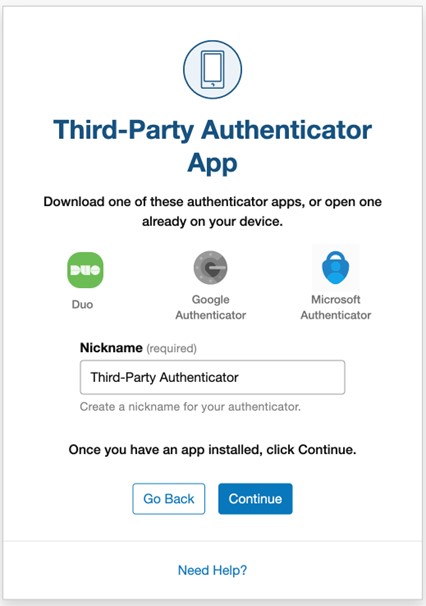
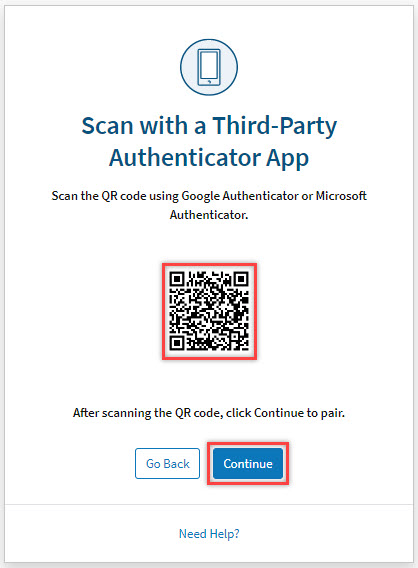
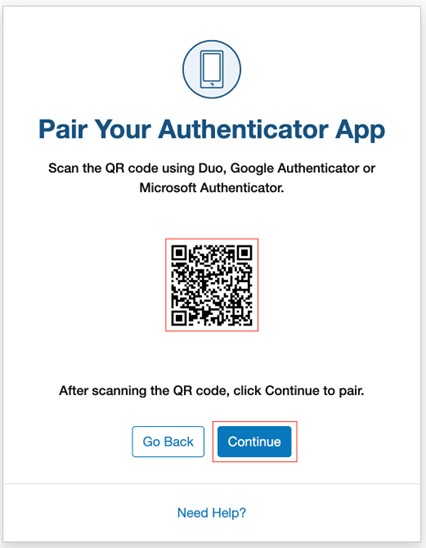
- Scan the QR code using the third-party authenticator app, then select Continue.
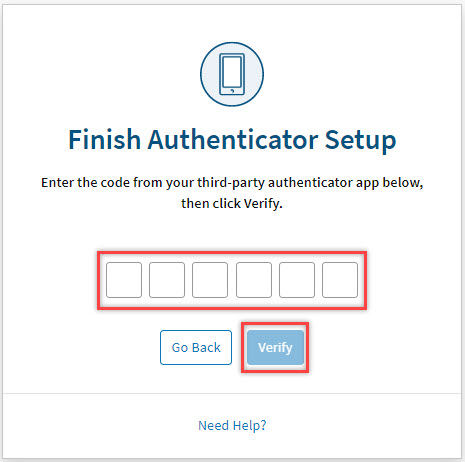
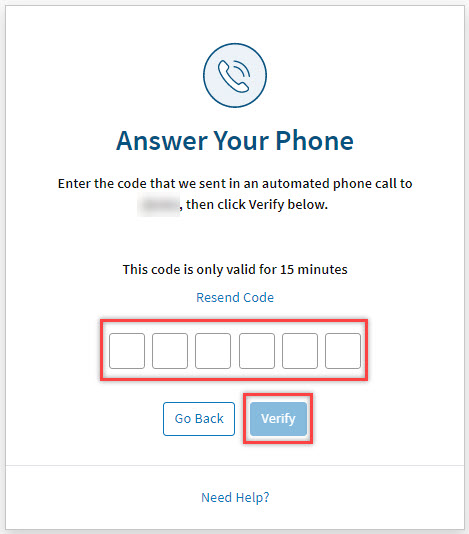
Enter the 6-digit code from the third-party authenticator app in the boxes, then select Verify.
Note: User has 6 attempts to enter the valid code. If the code expires, enter the new code from the third-party authenticator app.

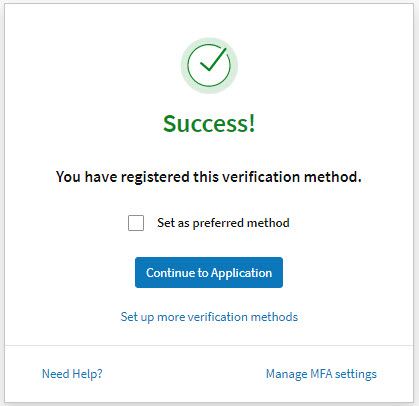
Once successfully registered, the user has the option to:
- Set third-party authentication app as the preferred authentication method
- Continue to Application
- Set up more verification methods
- Manage MFA settings

Notes:
To set this method as your preferred verification method, click the Set as preferred verification method checkbox. The Set up more verification methods option will be unavailable once you click the Set as preferred verification method checkbox. To set up more verification methods, you can always select Manage MFA Settings.
Refer to User Guide: How to Manage Multifactor Authentication for more information on how to manage MFA settings.
- The user will receive a confirmation email upon receipt of the success notification.
Set Up Email Method
This section explains how to set up the email authentication method. When utilizing this method, the user receives a 6-digit code at the email address registered with Fannie Mae and is prompted to enter the code into the interface. Fannie Mae registered email address method will be available for all users.
- Log in to a Fannie Mae browser-based application for the first time.
- After providing the correct User ID and password, the user will be prompted to set up the MFA verification method via the Help Us Protect Your Account panel
- Click the Set Up button next to Email.
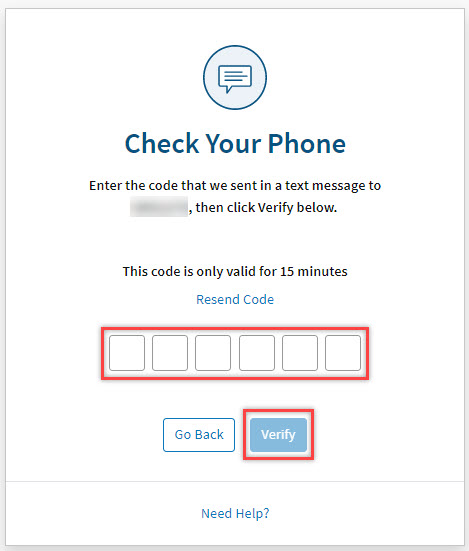
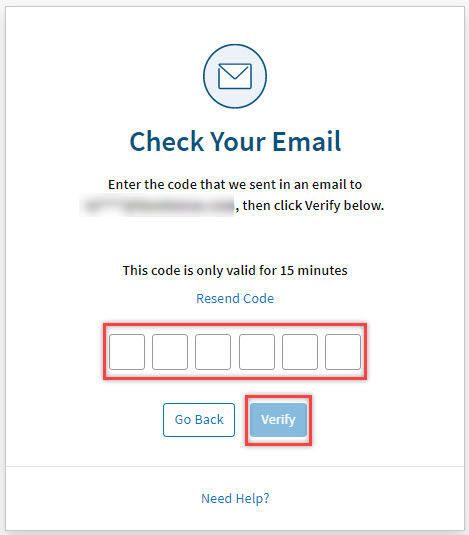
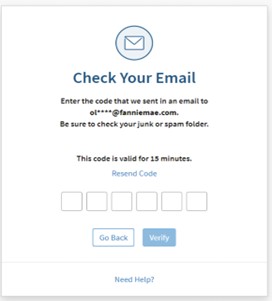
Enter the 6-digit code sent to the email address registered with Fannie Mae in the boxes, then select Verify.
Note: User has 6 attempts to enter the valid code. The code is valid for 15 minutes. If the code expires, select Resend Code to receive new code.
Once successfully registered, the user has the option to:
- Set email as the preferred authentication method
- Continue to Application
- Set up more verification methods
- Manage MFA settings
Notes:
To set this method as your preferred verification method, click the Set as preferred verification method checkbox. The Set up more verification methods option will be unavailable once you click the Set as preferred verification method checkbox. To set up more verification methods, select Manage MFA Settings.
Refer to User Guide: How to Manage Multifactor Authentication for more information on how to manage MFA settings.
- The user will receive a confirmation email upon receipt of the success notification
Set up Security Key Steps
This section explains how to set up the Security Key authentication method for Fannie Mae multifactor authentication. The User can verify their identity by simply plugging a security key into the computer’s USB port. Different types of security keys are available for purchase from your preferred retailer.
Once you pair your security key with Fannie Mae multifactor authentication, your next log in will prompt you to touch the security key to verify your identity.
- Log in to any Fannie Mae browser-based application.
- After providing the correct User ID and password, the user will be prompted to set up the MFA verification method via the Help Us Protect Your Account panel.
- Click the Set Up button next to Security Key.
Notes:
FIDO2 is now available for MFA, allowing you to take advantage of modern, phishing-resistant authentication methods for improved security.
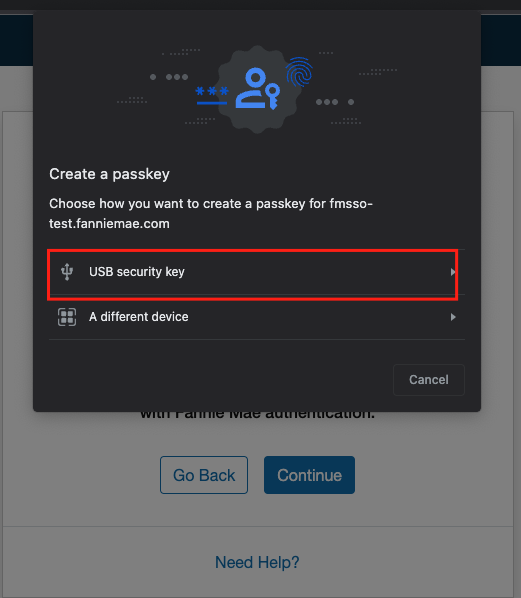
- Click the Continue button on the Setup Your Security Key screen.

Select USB Security Key on the new pop-up screen.
Note: Screen appearance may vary depending on the type of browser, browser version and security key brand that is used.
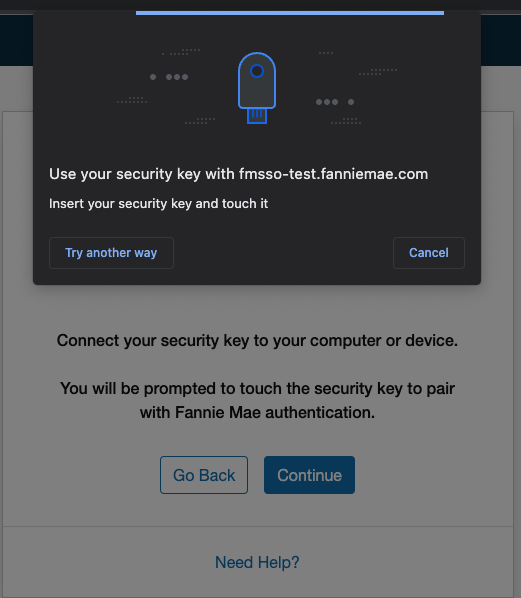
Insert and touch the security key.
Note: Screen appearance may vary depending on the type of browser, browser version and security key brand that is used.
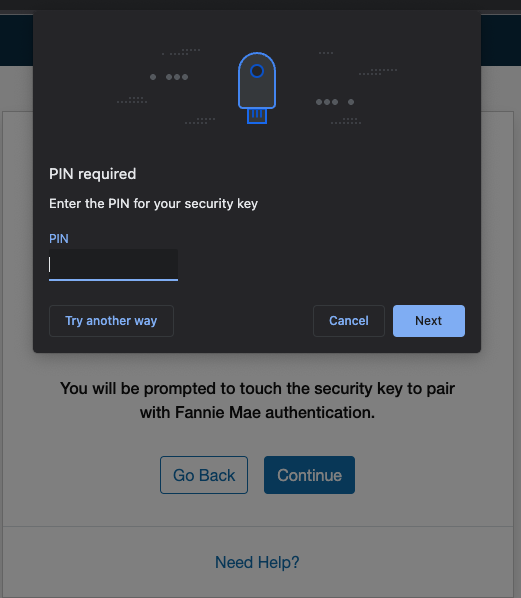
Enter the PIN for your security key if required.
Note: Screen appearance may vary based on security key brand used or how the initial registration was done.
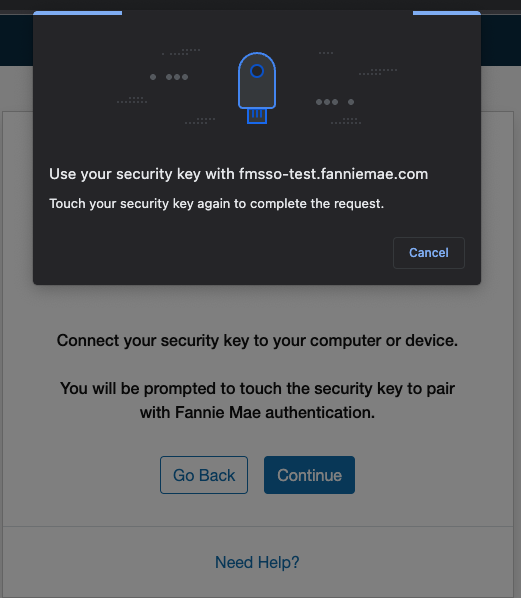
Touch your security key again to complete the request.
Note: This screen might look different for different brands of Security Key or how initial registration was done.
- Once the security key is properly registered, enter a nickname for your security key on the Create a Nickname screen.
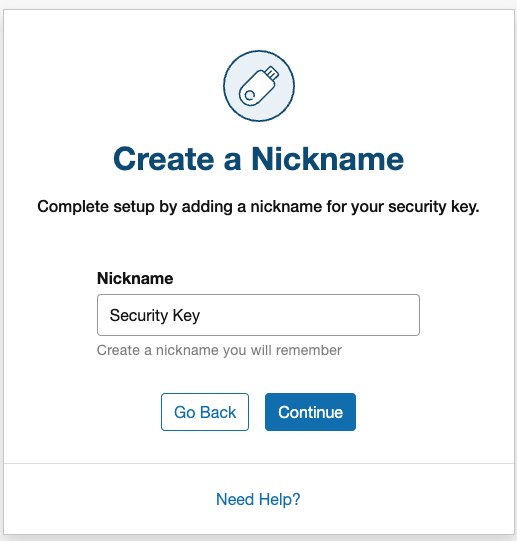
Click Continue.
Once successfully registered, the user has the option to set security Key as the preferred authentication method before selecting of the following options:- Continue to Application;
- Set up more verification methods; or
- Manage MFA settings

Notes:
The Set up more verification methods option will be unavailable once you click the Set as preferred verification method checkbox. To set up more verification methods, you can always select Manage MFA Settings.
Refer to User Guide: How to Manage Multifactor Authentication for more information on how to manage MFA settings.
- The user will receive a confirmation email upon receipt of the success notification.
Success Notification
The Success Notification panel is returned upon completion of a registration method(s). After the initial selection of an authentication method the user can establish additional verification methods by clicking on the Set up more verification methods link. The Set as preferred method checkbox defines the registered method as the default authentication method. The user can opt to go directly to the application by clicking the Continue to Application button. The user can also click the Manage MFA settings link to add an additional MFA verification method, delete MFA verification method, change preferred MFA verification method, and change device nickname.